Capturing video of hummingbirds flying near a feeder does take patience and time. But it isn’t as difficult as it might look. There is some preparation that makes the task easier and your close up shots more professional. (Note, I am an amateur, so I have no doubt that others can shoot better stuff than me, but even they will need to follow some of these tricks.)
We have only ruby throated hummingbirds in our area and they are very aggressive and territorial. Rubys are fearless in that they will attach larger birds and even people.
While early in the year, we may get several different birds at our feeder, sooner or later, one claims it against all invaders as illustrated by the video on hummingbird fightat Hummingbird fight . Based on what I have seen in other footage, other types of humming birds should be much easier to photograph as they are more cooperative about their feeding. You would adjust the actions to their habits and what you want to show.
Setting Up for the Shoot Link to heading
As silly as it sounds, you probably want to consider how attractive your feeder will be in the video. You want colors that will accentuate the bird, but not so bright as to distract from it. For video, you want one that actually requires the bird to hover and drink rather than roosting and drinking. You also want one where the flowers are not going to be distracting. Finally, the birds here seem to prefer feeders in which the flowers are facing up not down or even to the side. Although the feature I did on hummingbird fight used a red plastic feeder, I think it would have looked nicer if I had used the copper one featured on Hummingbird facts.
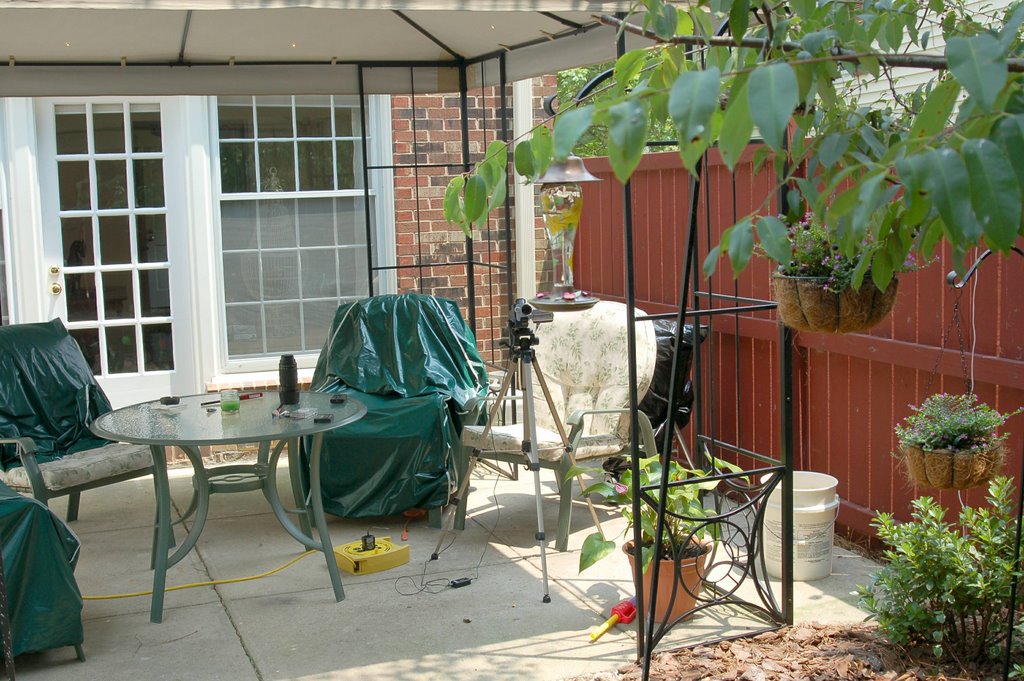 Set up a feeder near a place that will be comfortable to work from. Since you may be waiting a while for the bird to show up, you may as well be comfortable and covered from the sun.
When placing the feeder, frame your expected shot and make sure you are going to like the background.
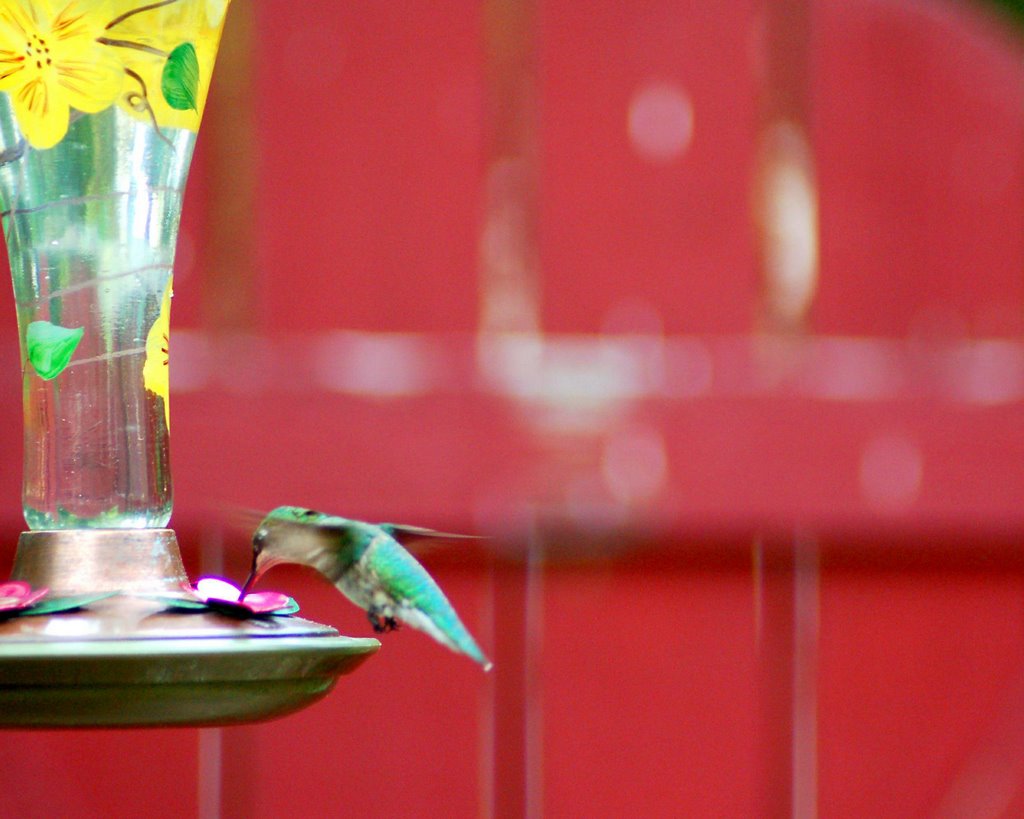 I can tell you that green birds do not show up very well against green leaves.
We happen to have a red fence and I like to make sure that the shots I take will show that as the background.
I can tell you that green birds do not show up very well against green leaves.
We happen to have a red fence and I like to make sure that the shots I take will show that as the background.
Wait a few days until the bird finds and adjusts to the feeder. Take note of the times of day it appears. Ours are very thirsty very early in the morning and in the late afternoon. The birds take long feedings then. During the day, they zip in for a little pick me up, but don’t stay as long. I notice great variation between ruby birds. From other videos, I have seen that other species are quite different. So one just has to watch and get the habits and style of the bird(s) you are working with.
Absolutely necessary. To get good close up footage, you will need to mount the camera on a stationary footing such as a tripod. Ideally, you will not touch the camera during shooting so as not to move it. When you are close and zoomed in on the subject every motion is magnified.
Optional: Set up the camera etc. and let the bird get used to it being there. An hour or two is all that is needed. Blinds or hides are not necessary. Although I usually use the zoom and set the camera 6 feet away, I have placed it as close as 12 inches from where the bird appears (any closer and it would be out of focus). (And after some waiting it came in anyway.) When it was close, I was sitting very still within a couple of feed of the bird and operating the camera with a remote control.
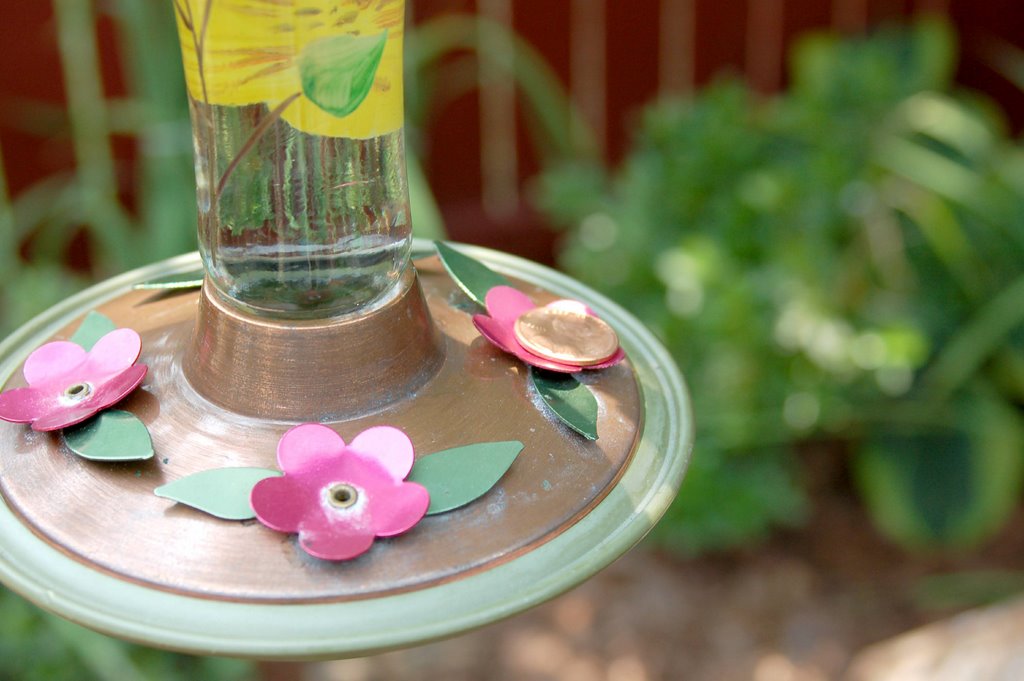
Decide where you want the bird to feed on the feeder and then close out the other places. (I put a penny on all the flowers except the one I want the bird to use. It irritates the bird at first, but it gets used to it and goes where I want to shoot. (If you have multiple feeders, you will find it more productive to take all of the others down temporarily. You will need to put them inside because the birds can find them if they are outside.)
My camera has a tiny red light on the front of it to show that it is recording. I found it better to cover this up with masking tape as it distracts the birds (one attacked it).
Decide on the kind of shot you want. Let’s presume that you want just the head at the feeder-flower. You can zoom in (or move the camera closer) until just a couple of inches are represented in the screen.
Use the auto focus to set the focus as precisely as you can by placing an object where the bird will be (a clothes pin works nicely). Once you have the focus set, turn off the auto focus. This prevents the camera from refocusing on a more distant object once you remove the stand-in object. Remove the stand-in.
Wait for the bird to show up. When it does, move slowly to push the record button (or use a remote). Since you have blocked out all other feeders, you don’t need to worry about where it will feed so you don’t do any camera movement or control during the shoot. If you have remote control, you don’t even need to be anywhere near the feeder or the camera.
I have noted that the birds do react to the camera sound and appeared to react to my use of the infrared remote control, but when it is thirsty, it quickly overlooks these minor annoyances.
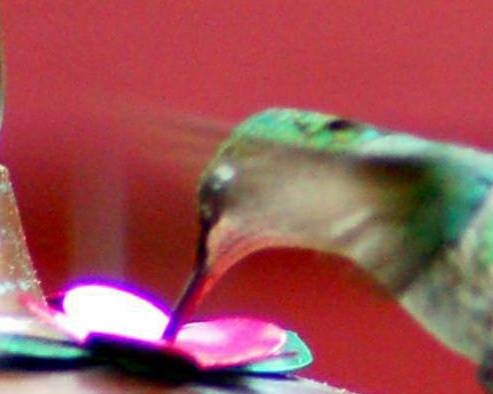 In the close up I described, you will obviously have long moments in which the bird is not in the picture. You deal with this in editing. What you do have, however, is some really fantastic steady in-focus footage of a dime sized bird head in action which fills the screen of your 52 inch TV (or my 27 inch TV.)
Roosting, taking off and landing Link to heading
We happen to be lucky to have a tree right near the feeder and sometimes the claiming bird will choose it for its roost to guard the feeder. It is within easy range for a close up zoom. The birds are very habitual. For example, one of the birds flew to the tree to nearly the precise same spot on exactly the same twig each time. Again, I set up the camera for the shot when the bird wasn’t there. I set the focus of the camera and then locked it in. I framed the area that I wanted the action to occur within and zoomed in on that area. And then I waited for the bird to show up. When it did, I turned on the camera and just let it run until the bird went away. Again, there was no camera movement and no camera adjustment during the shoot. And of course, I got huge gaps in the footage this way when the bird was at the feeder or somewhere else nearby. But it was in the stage of landing, roosting, or taking off from the shoot zone, I got some terrific close up action footage that would otherwise be impossible for me to get.
It’s really hard not to want to catch other neat things going on, but if you do, you’ll mess up the close up shots. When you are this close any movement is an annoyance to the viewer so the only time one moves the camera is when the bird changes its habits. If you just can’t stand to miss the other action, get another camera and tape it with a somewhat larger area in view. Most of the birds I have watched stay within one square foot of the feeder flower, but terrain and obtacles such as tree limbs changes this slightly. Longer shots give you some great footage to edit together. I don’t own two cameras, so I just have to cheat the continuity of action in editing—which is exactly what they do when shooting real movies. As you see in Hummingbird fight, I sometimes place the camera under the feeder to get that angle. Or I watch about where the bird will be when it is between sips and set the camera up for that mid air shot. Mid air shots are spectacular in that they show how the bird manipulates it wings and tail to perform the acrobatics that it is capable of. What ever angle you shoot, the theory is the same: set up the camera for the shot and then just wait until the shot occurs. Don’t even try to hold or maneuver the camera as this rarely works.